
Windows:
- You need to install PuTTY.
- You don’t need to install java: it is bundled with the installer.
Linux:
- You need to install java 8 manually.
Mac:
- You don’t need to install java: it is bundled with the installer.
- But make sure that you start the jFed installer by downloading it, and then right-clicking and choosing ‘Open’.
Setting up:
To install the jFed experiment GUI, go to the jFed downloads page, and follow the instruction there.
Basic features:
Logging in:
There are some basic steps to log into the jFed Experimenter Toolkit:
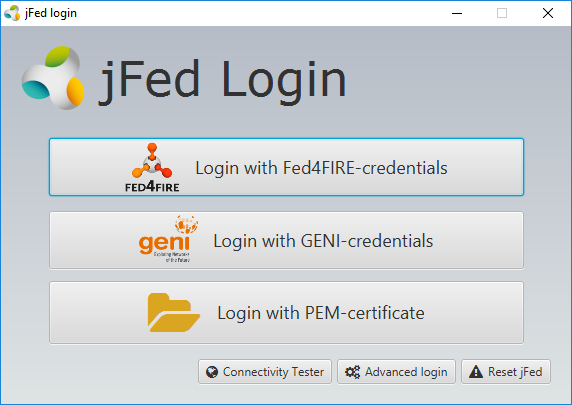
Login with Fed4FIRE-credentials or with PEM-certificate
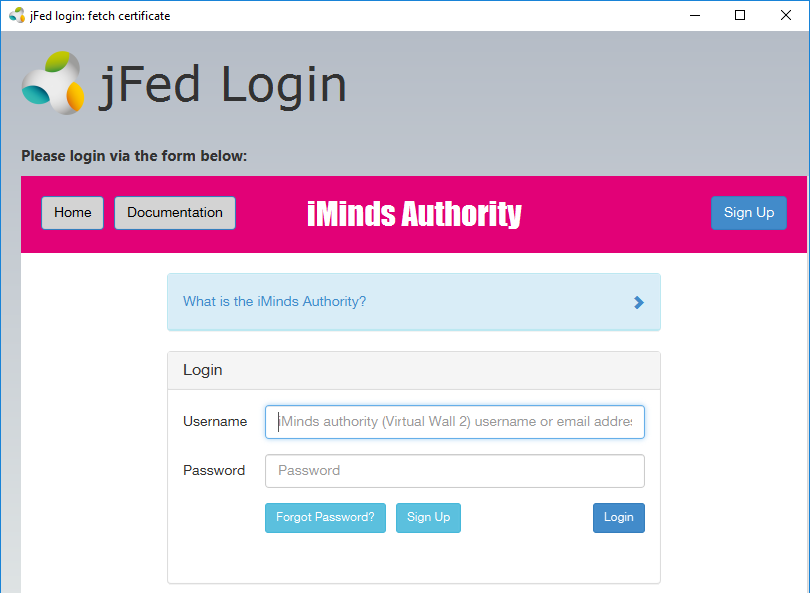
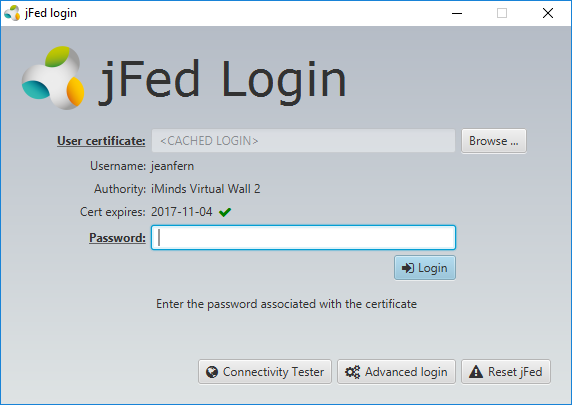
Open the certificate file you downloaded, provide your password and press the login button.
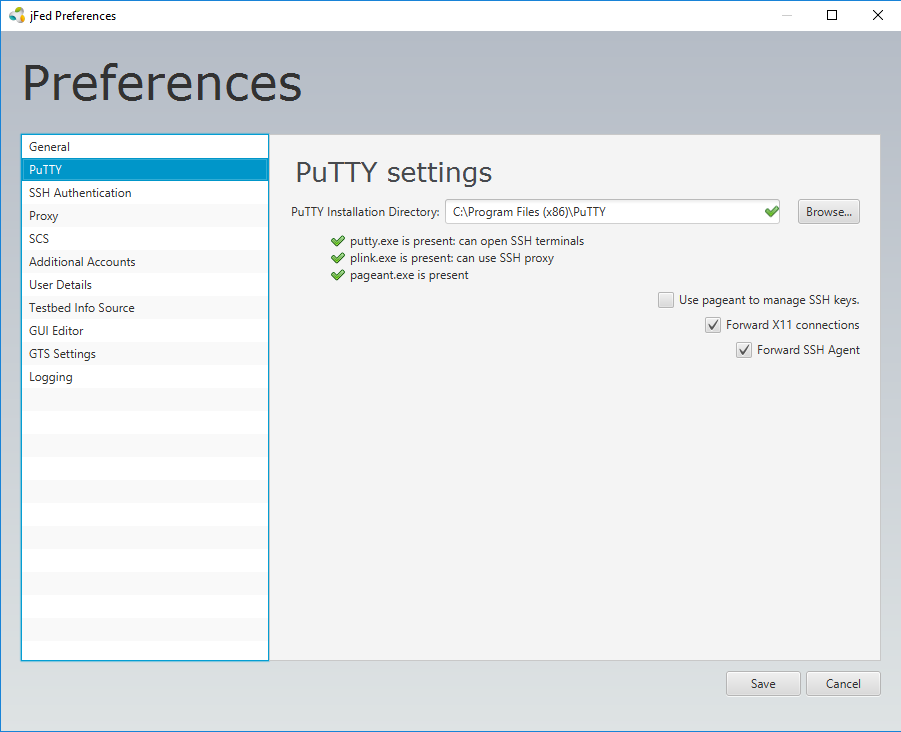
After you log in for the first time, a dialog box will pop up to say that you have to configure jFed for this initial run. You typically do not need to make any changes, but it might be good to check out the settings.

For Windows Operating System, it is required to select the folder installation of Putty program to enable the accessing via SSH to the resources allocated during the experiments.
Creating an experiment:
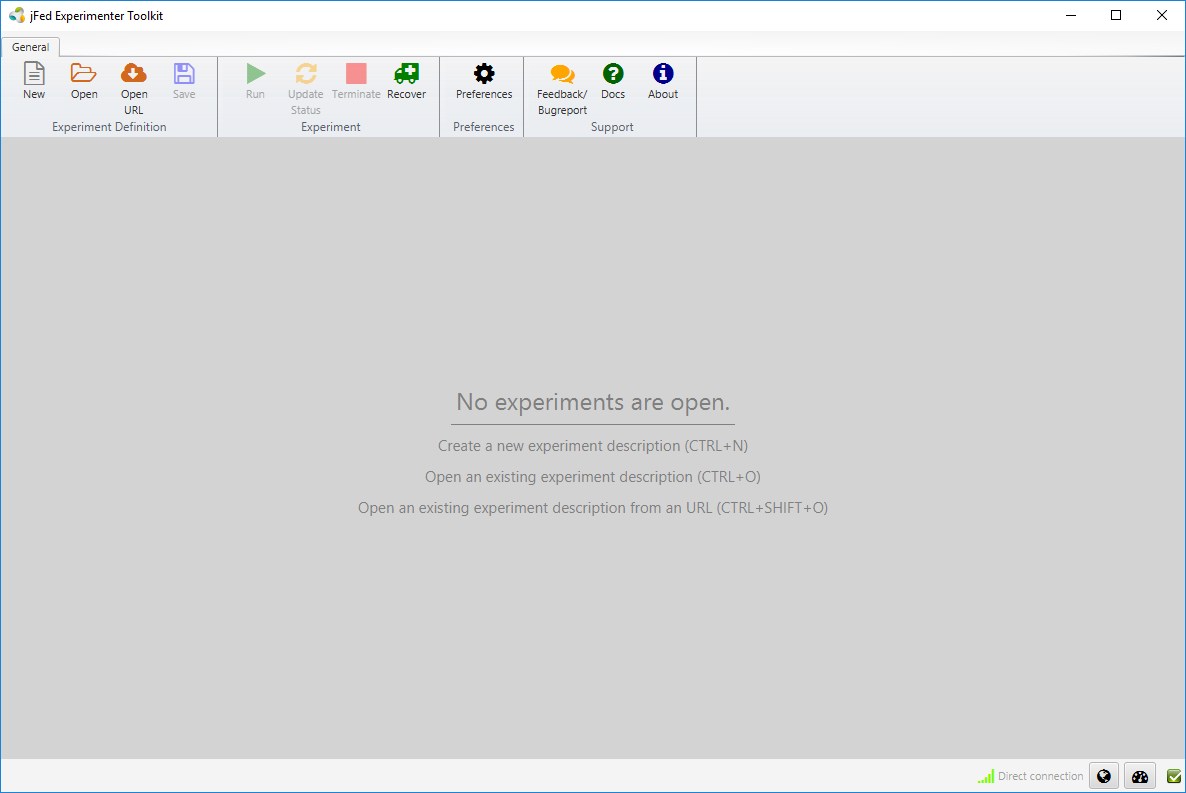
As soon as you have logged in JFed, you will see the jFed interface with no experiments loaded.
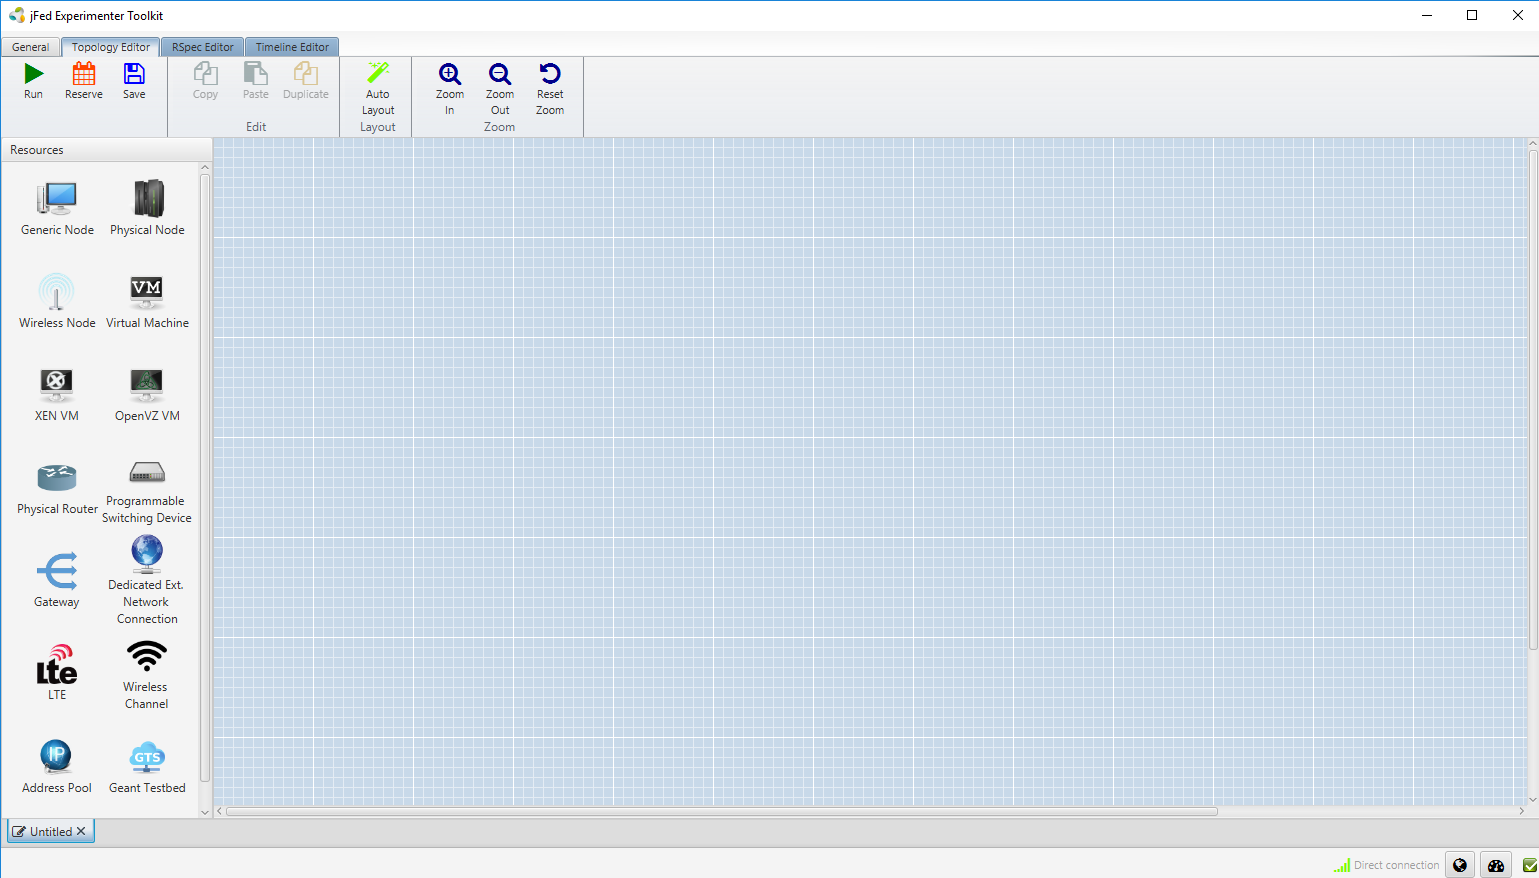
- Click New, you’ll get a blank canvas in which you can draw your experiment.
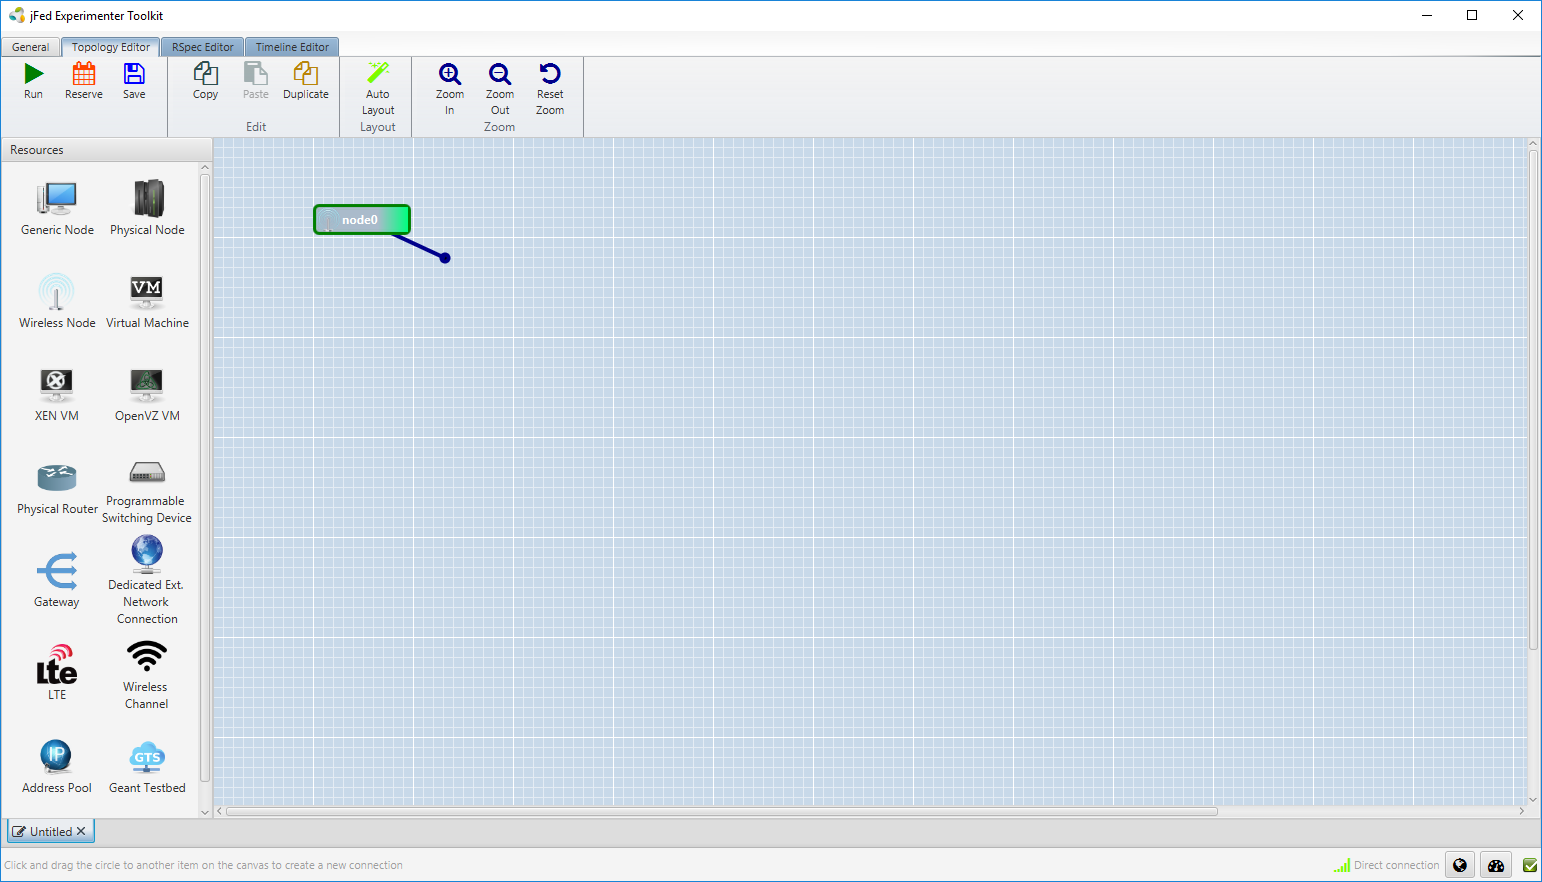
- Drag in a wireless node from the left side to the canvas.
- Right-click on the node and change the Select testbed field to FUTEBOL Brazil/UFRGS. Then, click Save.
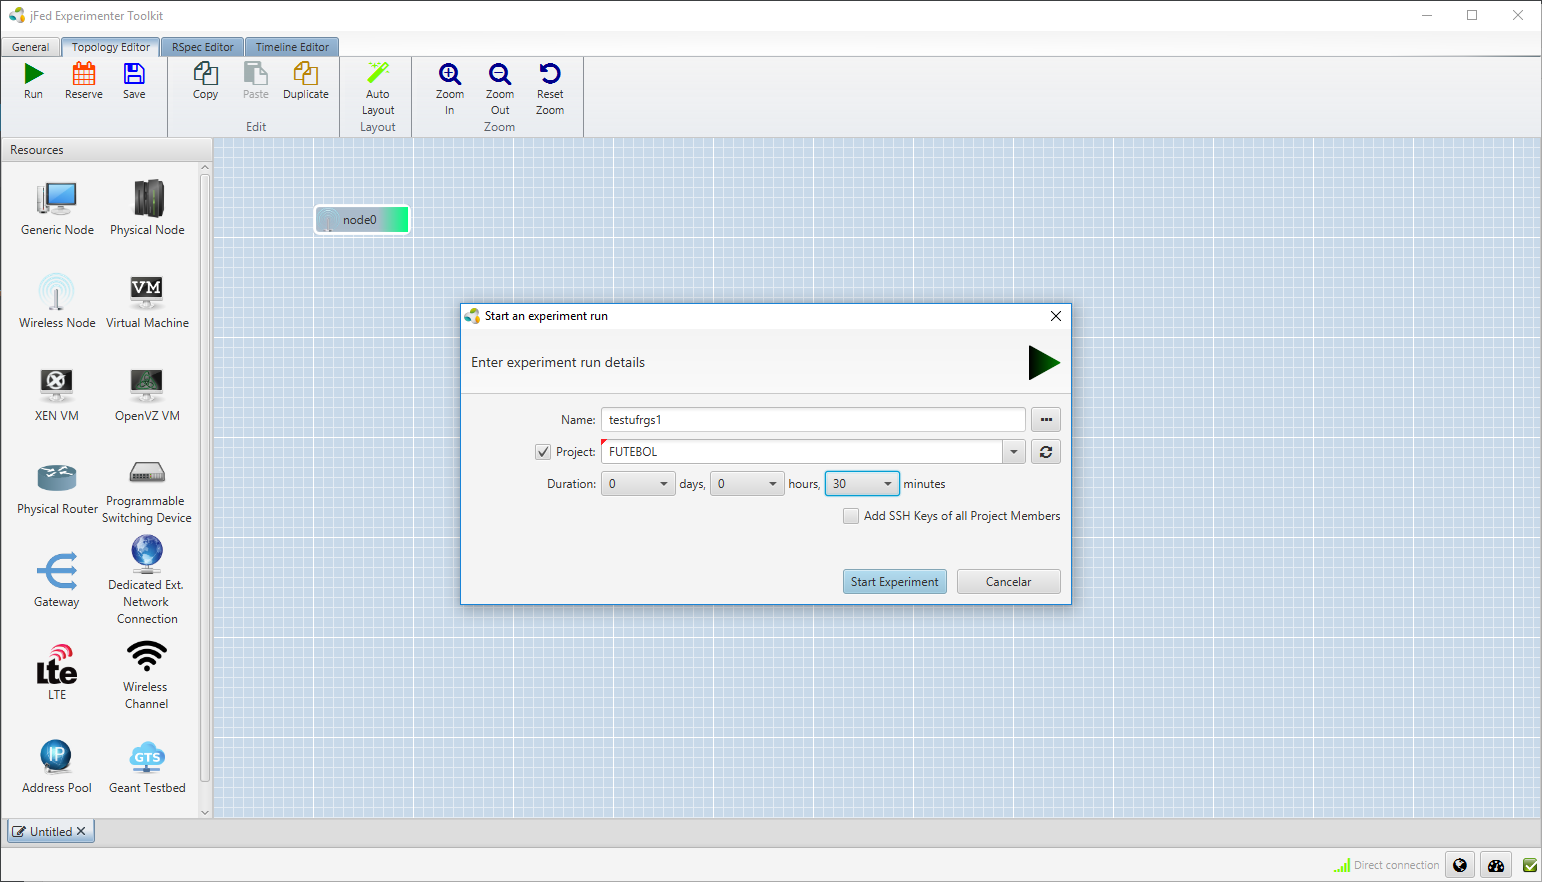
- Click Run and fill in a name and the duration of the experiment.
- When the node becomes green, double click it. A SSH Connection must pop up.
- To release your resources, you can click on the Terminate button. After that, the nodes will become black and your node will be no longer available.


RSpec editor:
FUTEBOL developers try their best to keep the visual interface complete and intuitive. However, if you want to use advanced JFed features, you can use the Rspec Editor, where you can create an experiment and add specific settings.
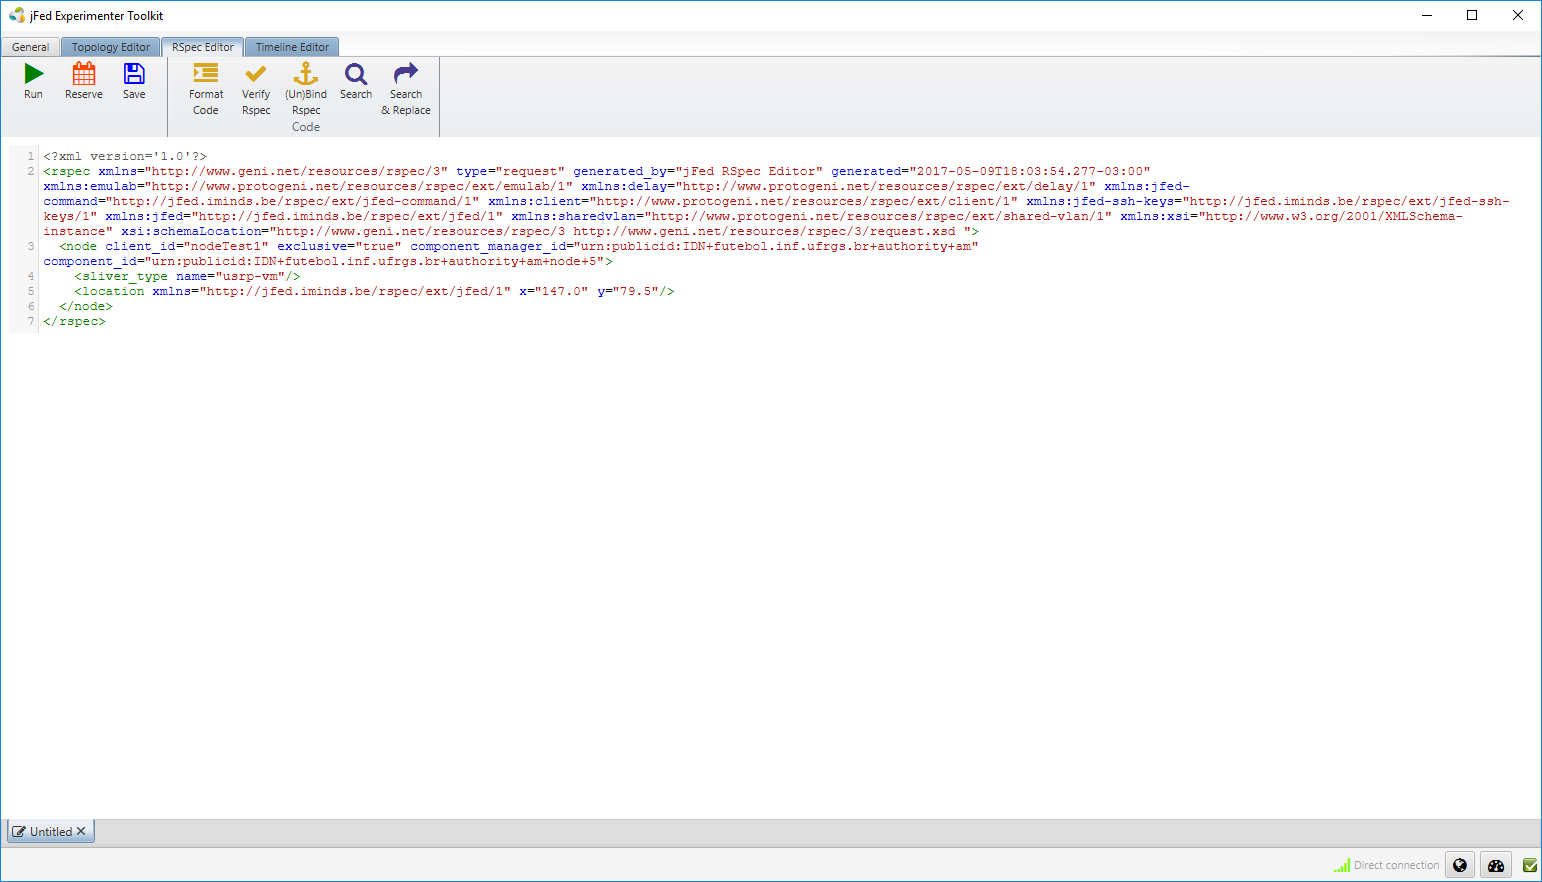
See the fields that you can change. Download our sample file (rename to cbtm.rspec).node : Specify the client_id and component_manger_id. In the case of UFRGS the standard is:
- client_id – Any nick.
- component_manager – urn:publicid:IDN+futebol.inf.ufrgs.br+authority+am
- sliver_type name=” ” : Choose between available slivers:
- default-vm
- usrp-vm
- raw-raspberry
To select an available disk, simply change the last part of the disk_image string:
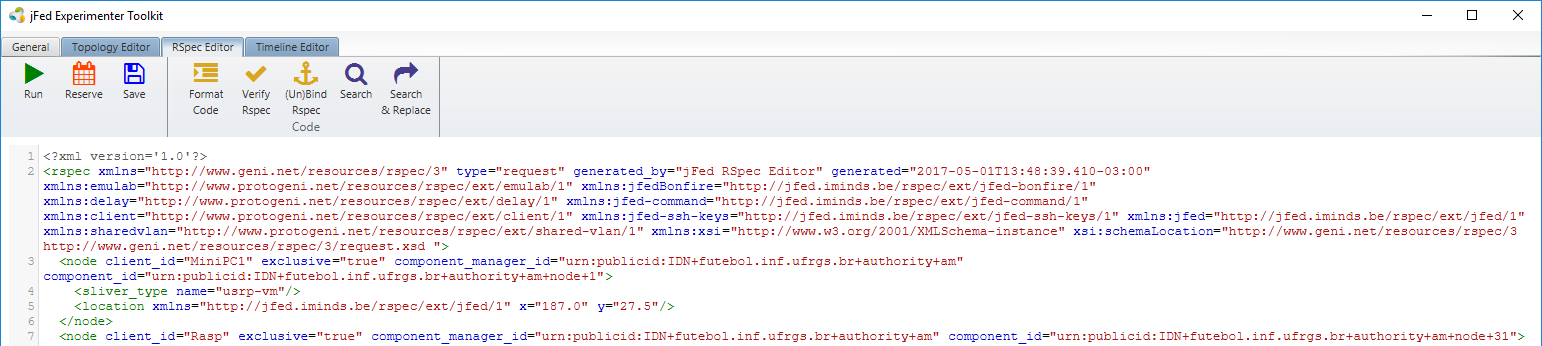
You can create as many nodes as you want by copying and pasting the node tag. Remember to change the client_id for each new node. If you want, you can also change the fields sliver_type and disk_image .
In this example, it’s used 2 nodes.
